Building a backend API on Glitch with Node & SQLite
This tutorial is a series on building an application on Glitch. Glitch was created by Joe Spolsky’s company, who is also behind Stackoverflow and Trello. Glitch allows users to collaborate and build applications. It has a built in editor, hosts code and runs applications.
In this post we’ll build the backend API for a notes application using Node, Express and SQLite. The application will have 4 RESTful API endpoints: GET /notes, GET /note/:id, POST /notes and DELETE /notes/:id.
You can also watch the videos for this post on YouTube.
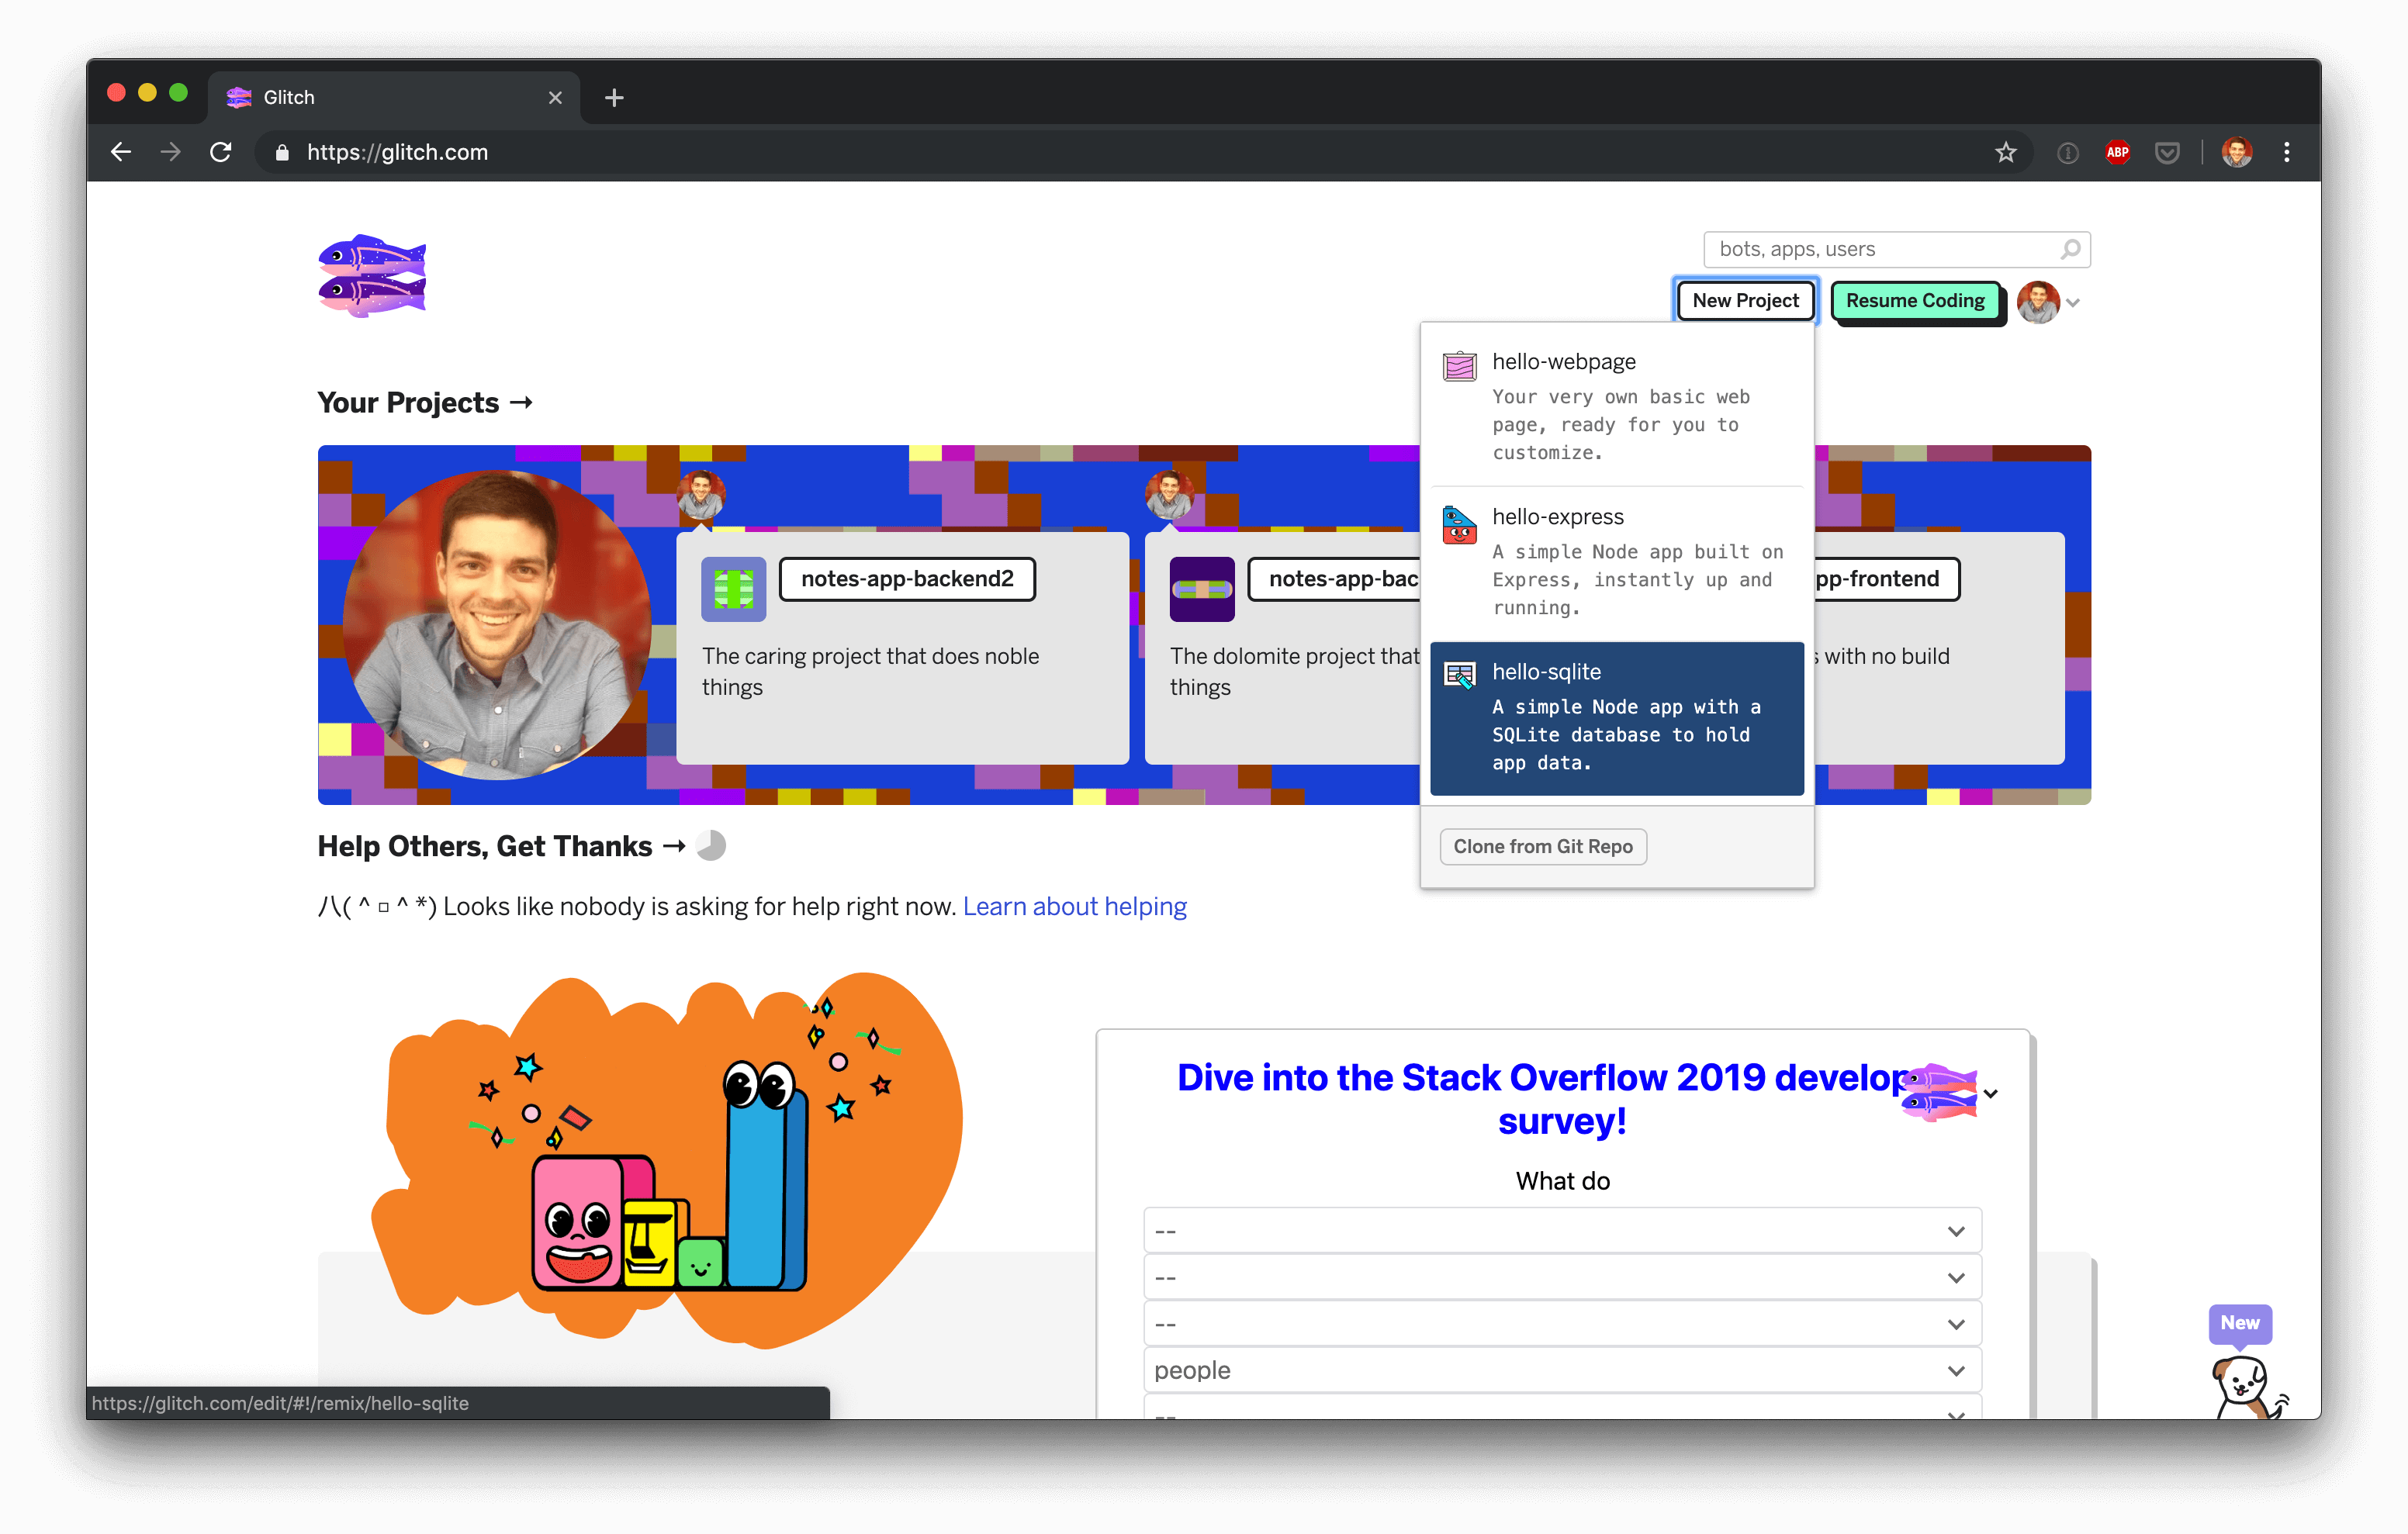
If you want to follow along, you’ll need a Glitch account. Head over to glitch.com and signup. Once you have an account you can create a new project. For this tutorial, chose the “hello-sqlite” template.
This template includes a Node application with an SQLite database. The Node application is running Express and comes with a sample “dreams” application.
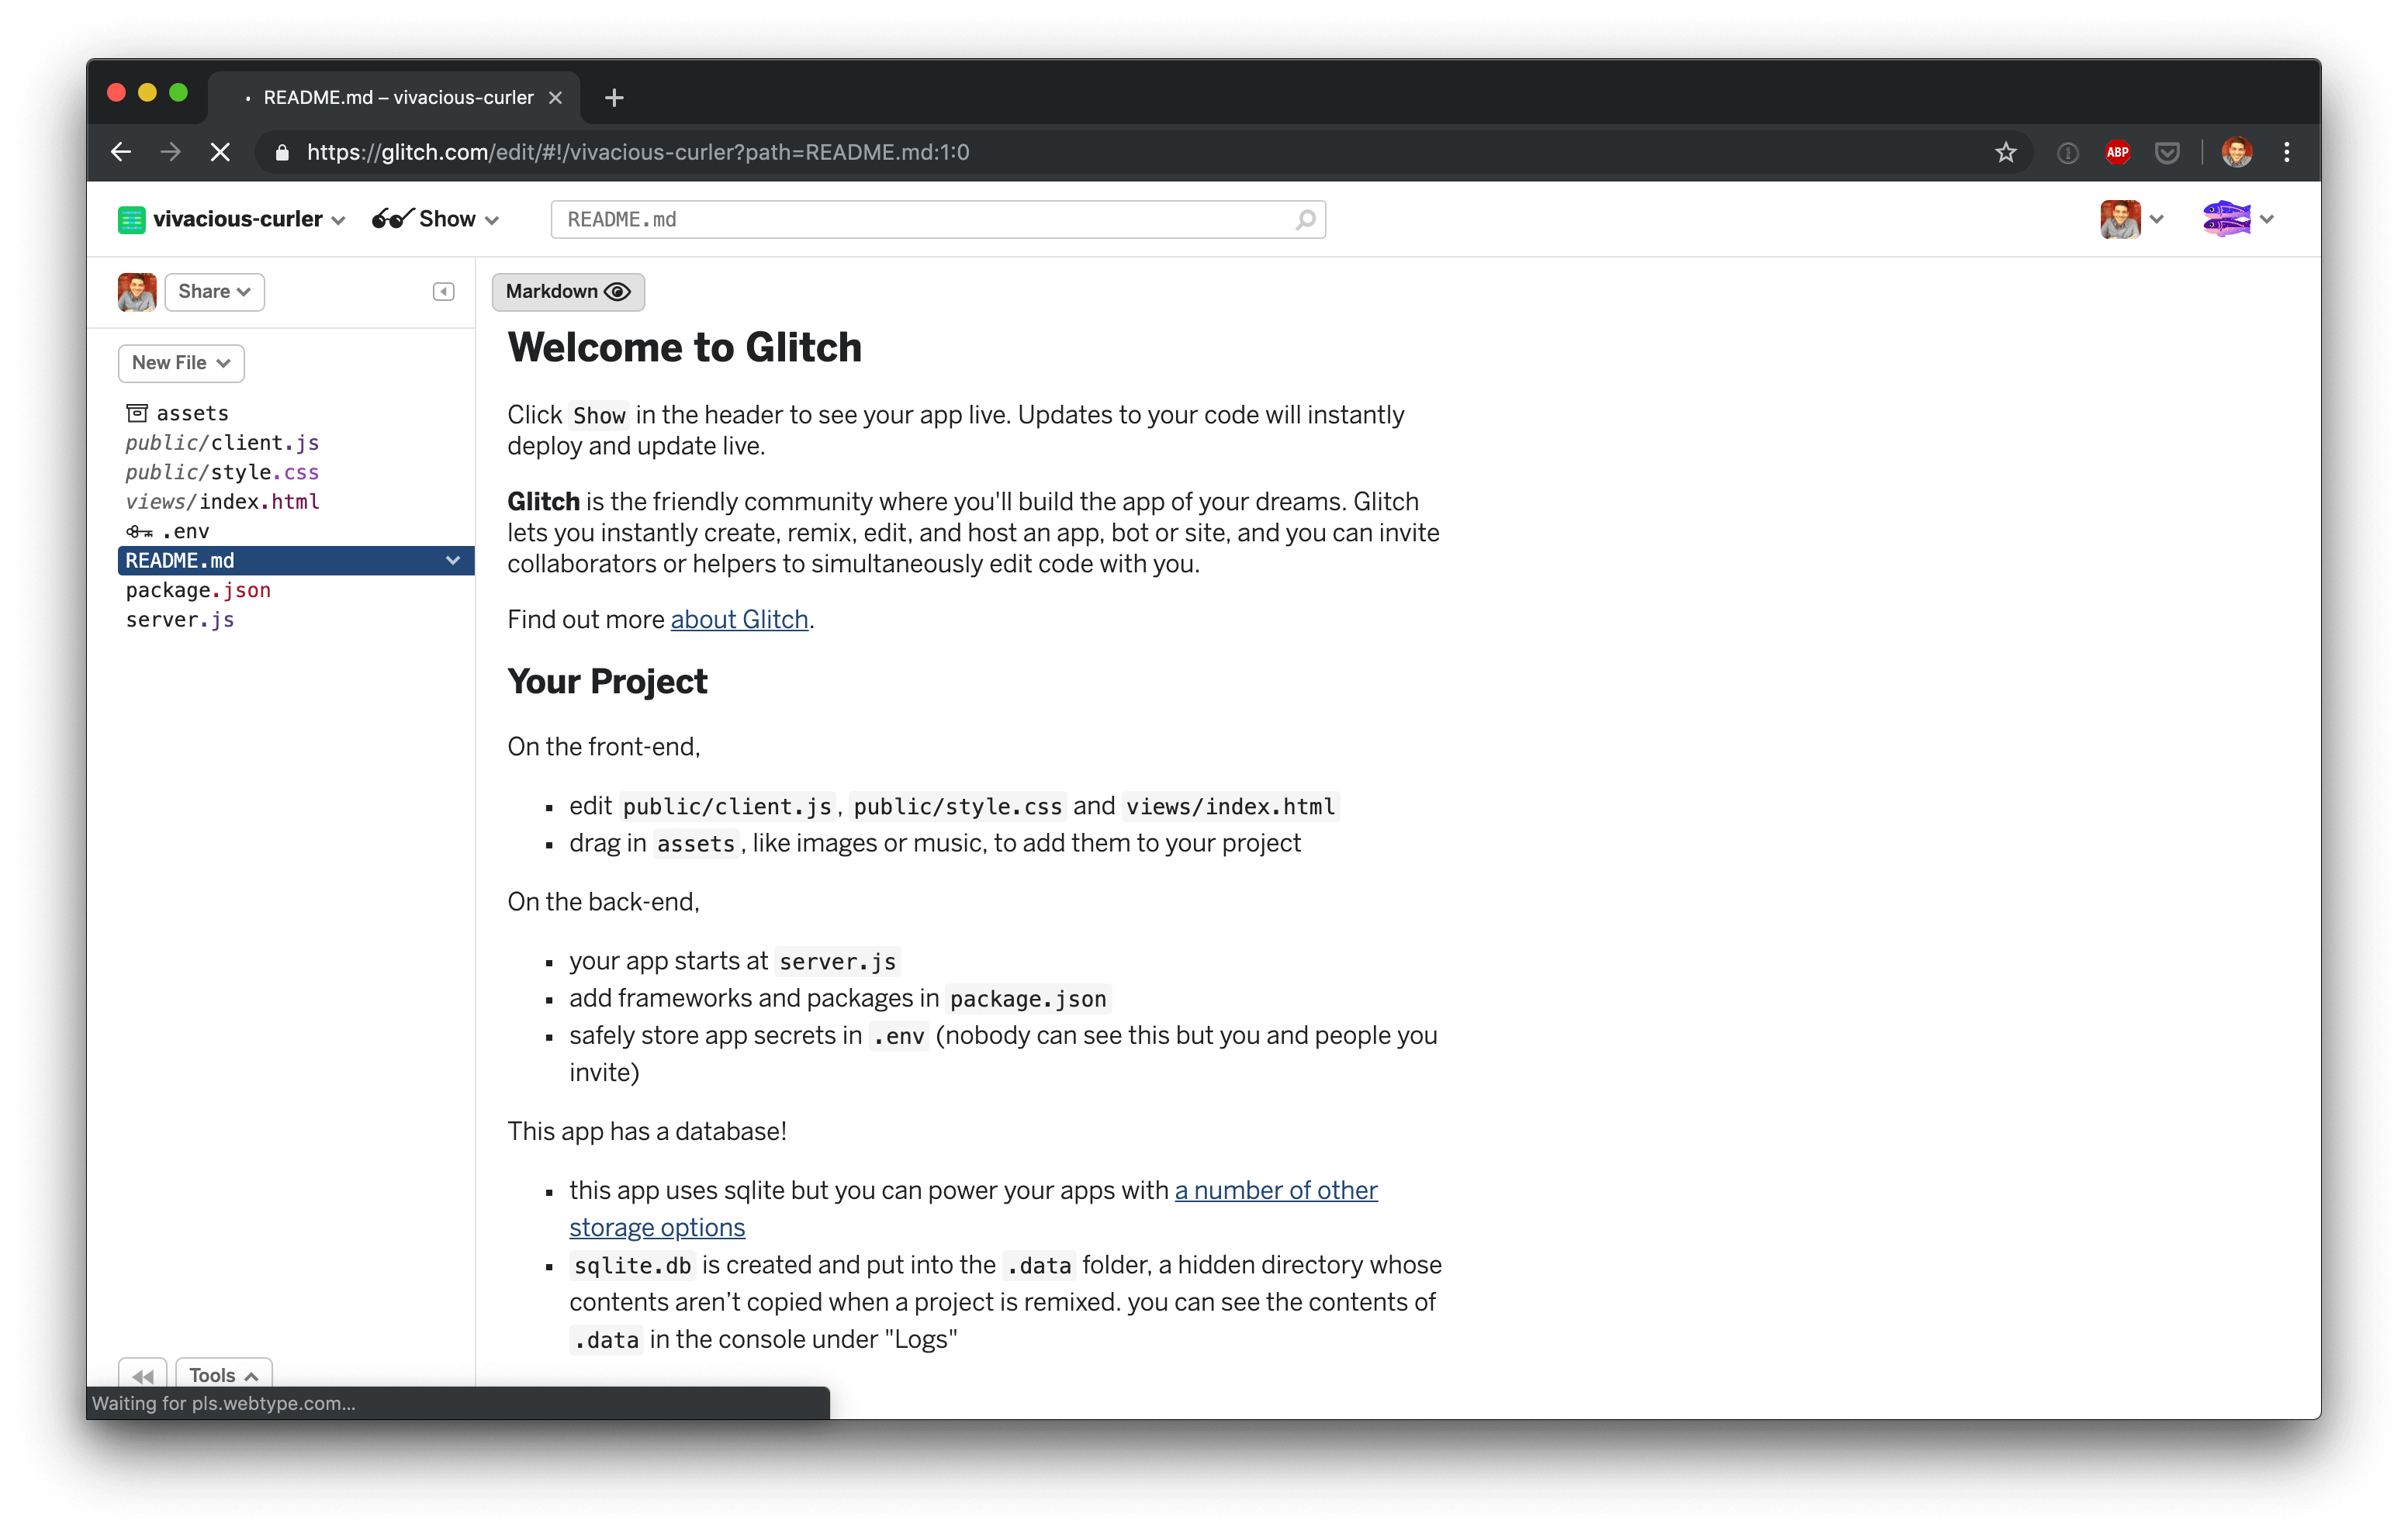
We don’t need the pre-built application because we’re building the application from scratch. The first thing to do is delete public/client.js and public/style.css because they are not required for a backend applications.
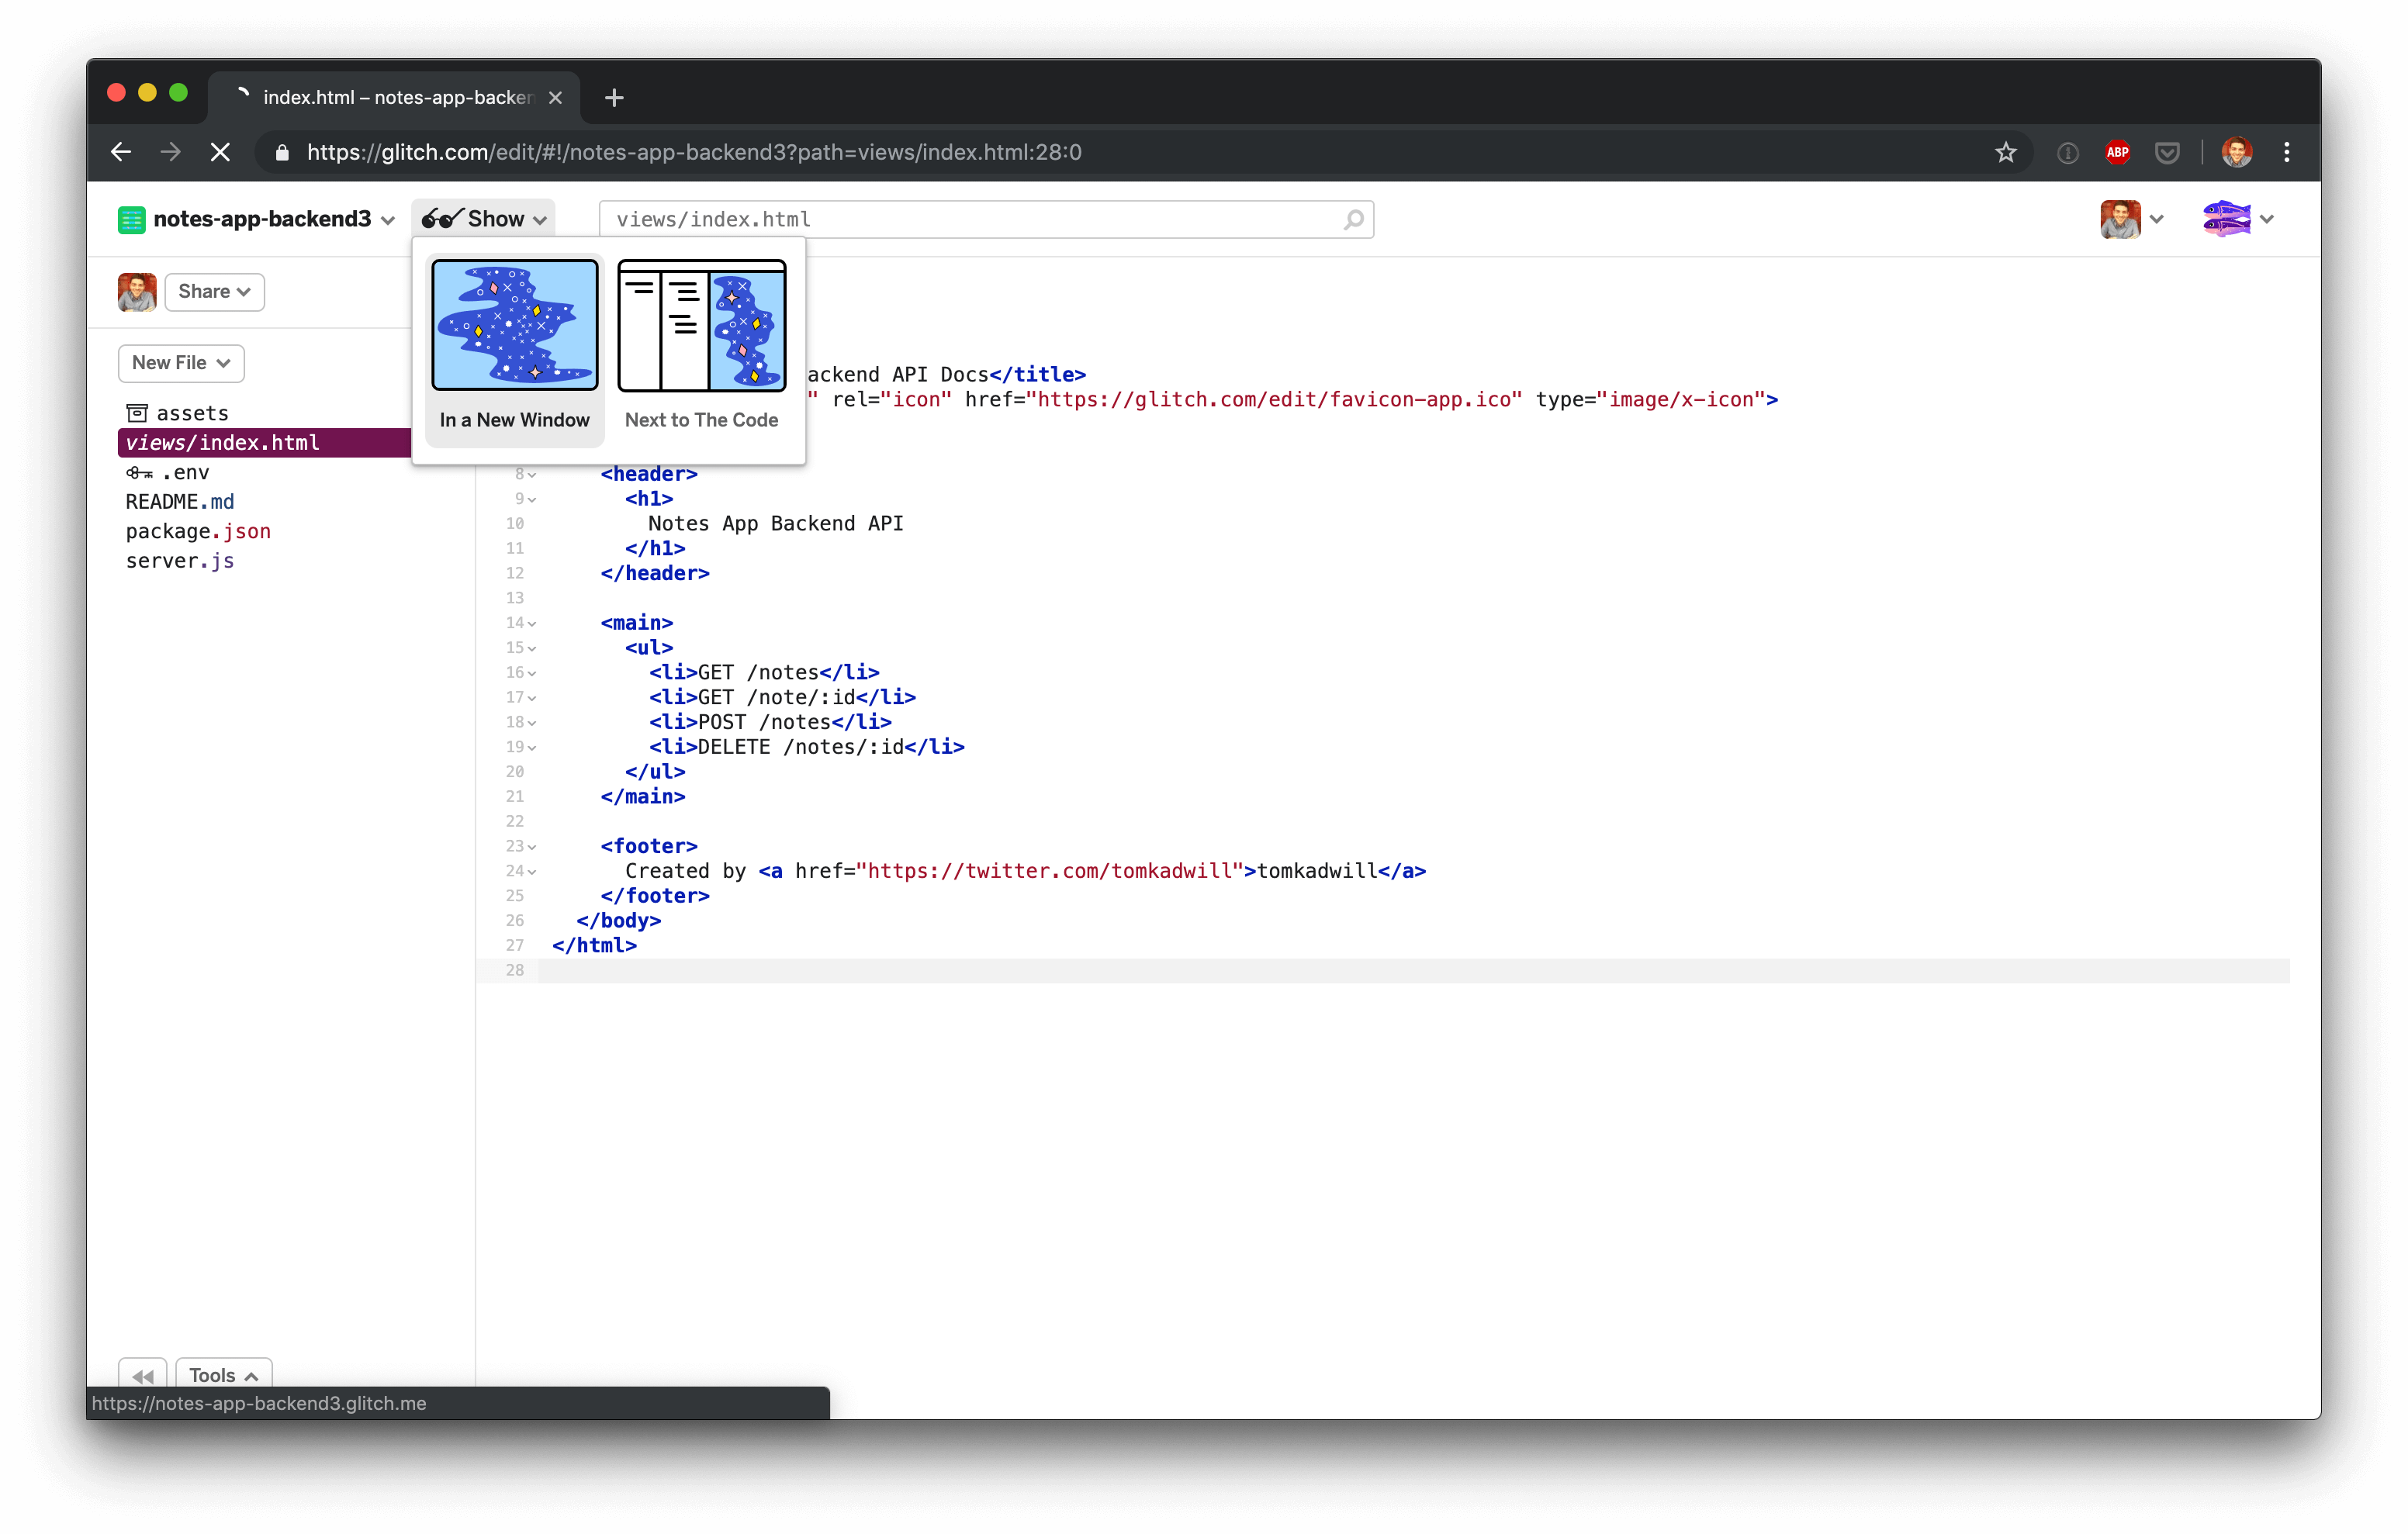
Index page
The “hello-sqlite” tempate comes with an index page. It’s not required for a backend application but we can re-use it for API documentation. Open views/index.html and replace the file contents with:
<!DOCTYPE html>
<html lang="en">
  <head>
    <title>note-app-backend API Docs</title>
    <link id="favicon" rel="icon" href="https://glitch.com/edit/favicon-app.ico" type="image/x-icon">
  </head>
  <body>
    <header>
      <h1>
        Notes App Backend API
      </h1>
    </header>

    <main>
      <ul>
        <li>GET /notes</li>
        <li>GET /note/:id</li>
        <li>POST /notes</li>
        <li>DELETE /notes/:id</li>
      </ul>
    </main>

    <footer>
      Created by <a href="https://twitter.com/tomkadwill">tomkadwill</a>
    </footer>
  </body>
</html>
You can replace the footer with your own name and link 😀.
After replacing the file contents, you can view the documentation page by browsing to https://<your-app-name>.glitch.me/ or clicking the preview button.
First test case
Before we go any further, lets write some tests. We’ll use mocha, chai and chai-http. Mocha is a JavaScript test framework. Chai is an assertions framework that provides some nice features and syntactic sugar. Chai HTTP allows us to easily test HTTP calls. To install these packages, open the package.json file. There are two ways to update it: Either by manually editing the file or via the ‘Add Package’ button.
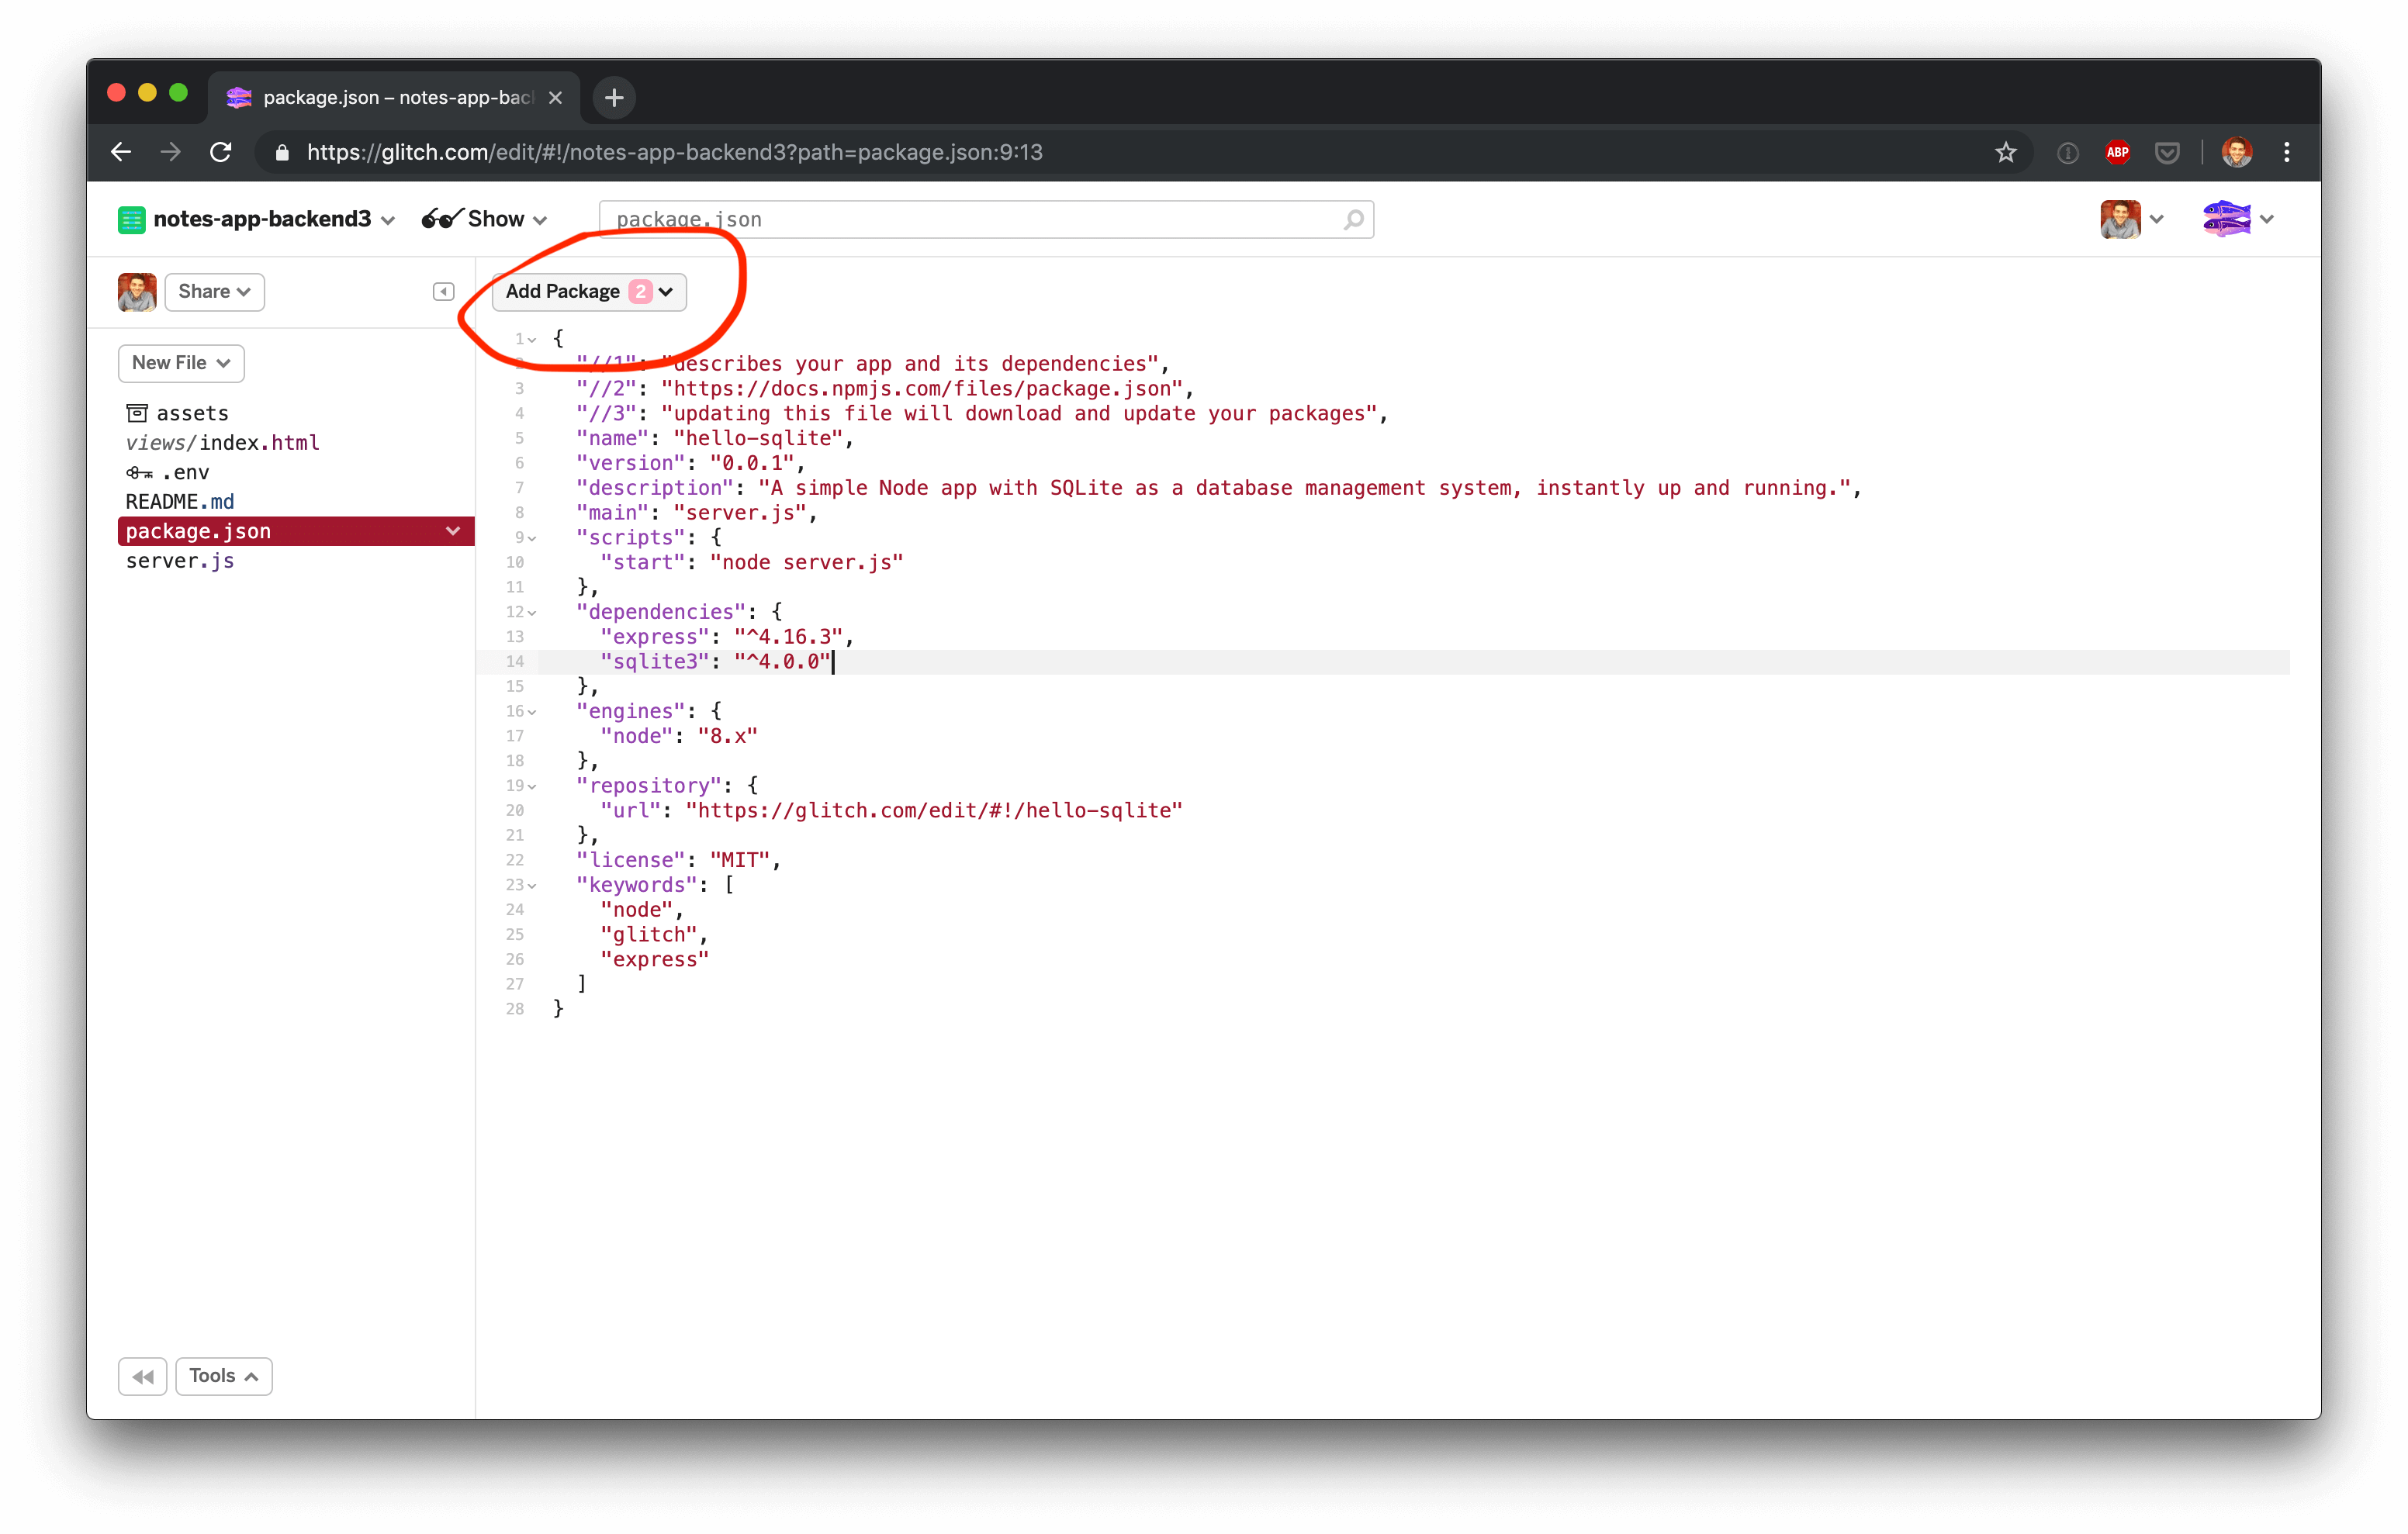
However, these packages should go under devDependencies because they are only required for test and development environments. To do that we have to edit package.json manually and add the following:
    "cors": "^2.8.5"
  },
+ "devDependencies": {
+   "mocha": "^6.1.4",
+   "chai": "^4.2.0",
+   "chai-http": "^4.3.0"
+ },
  "engines": {
Normally you would have to run a command to install the new dependencies, after updating package.json. However, Glitch handles this for you. It will automatically save the file and install the new packages.
With the test packages installed we need to add a test script so that we can run mocha. Add the following line under the start script in package.json.
  "scripts": {
    "start": "node server.js",
+   "test": "mocha"
  },
Now you can open the console in Glitch to run the tests. You can either open the console in full screen.
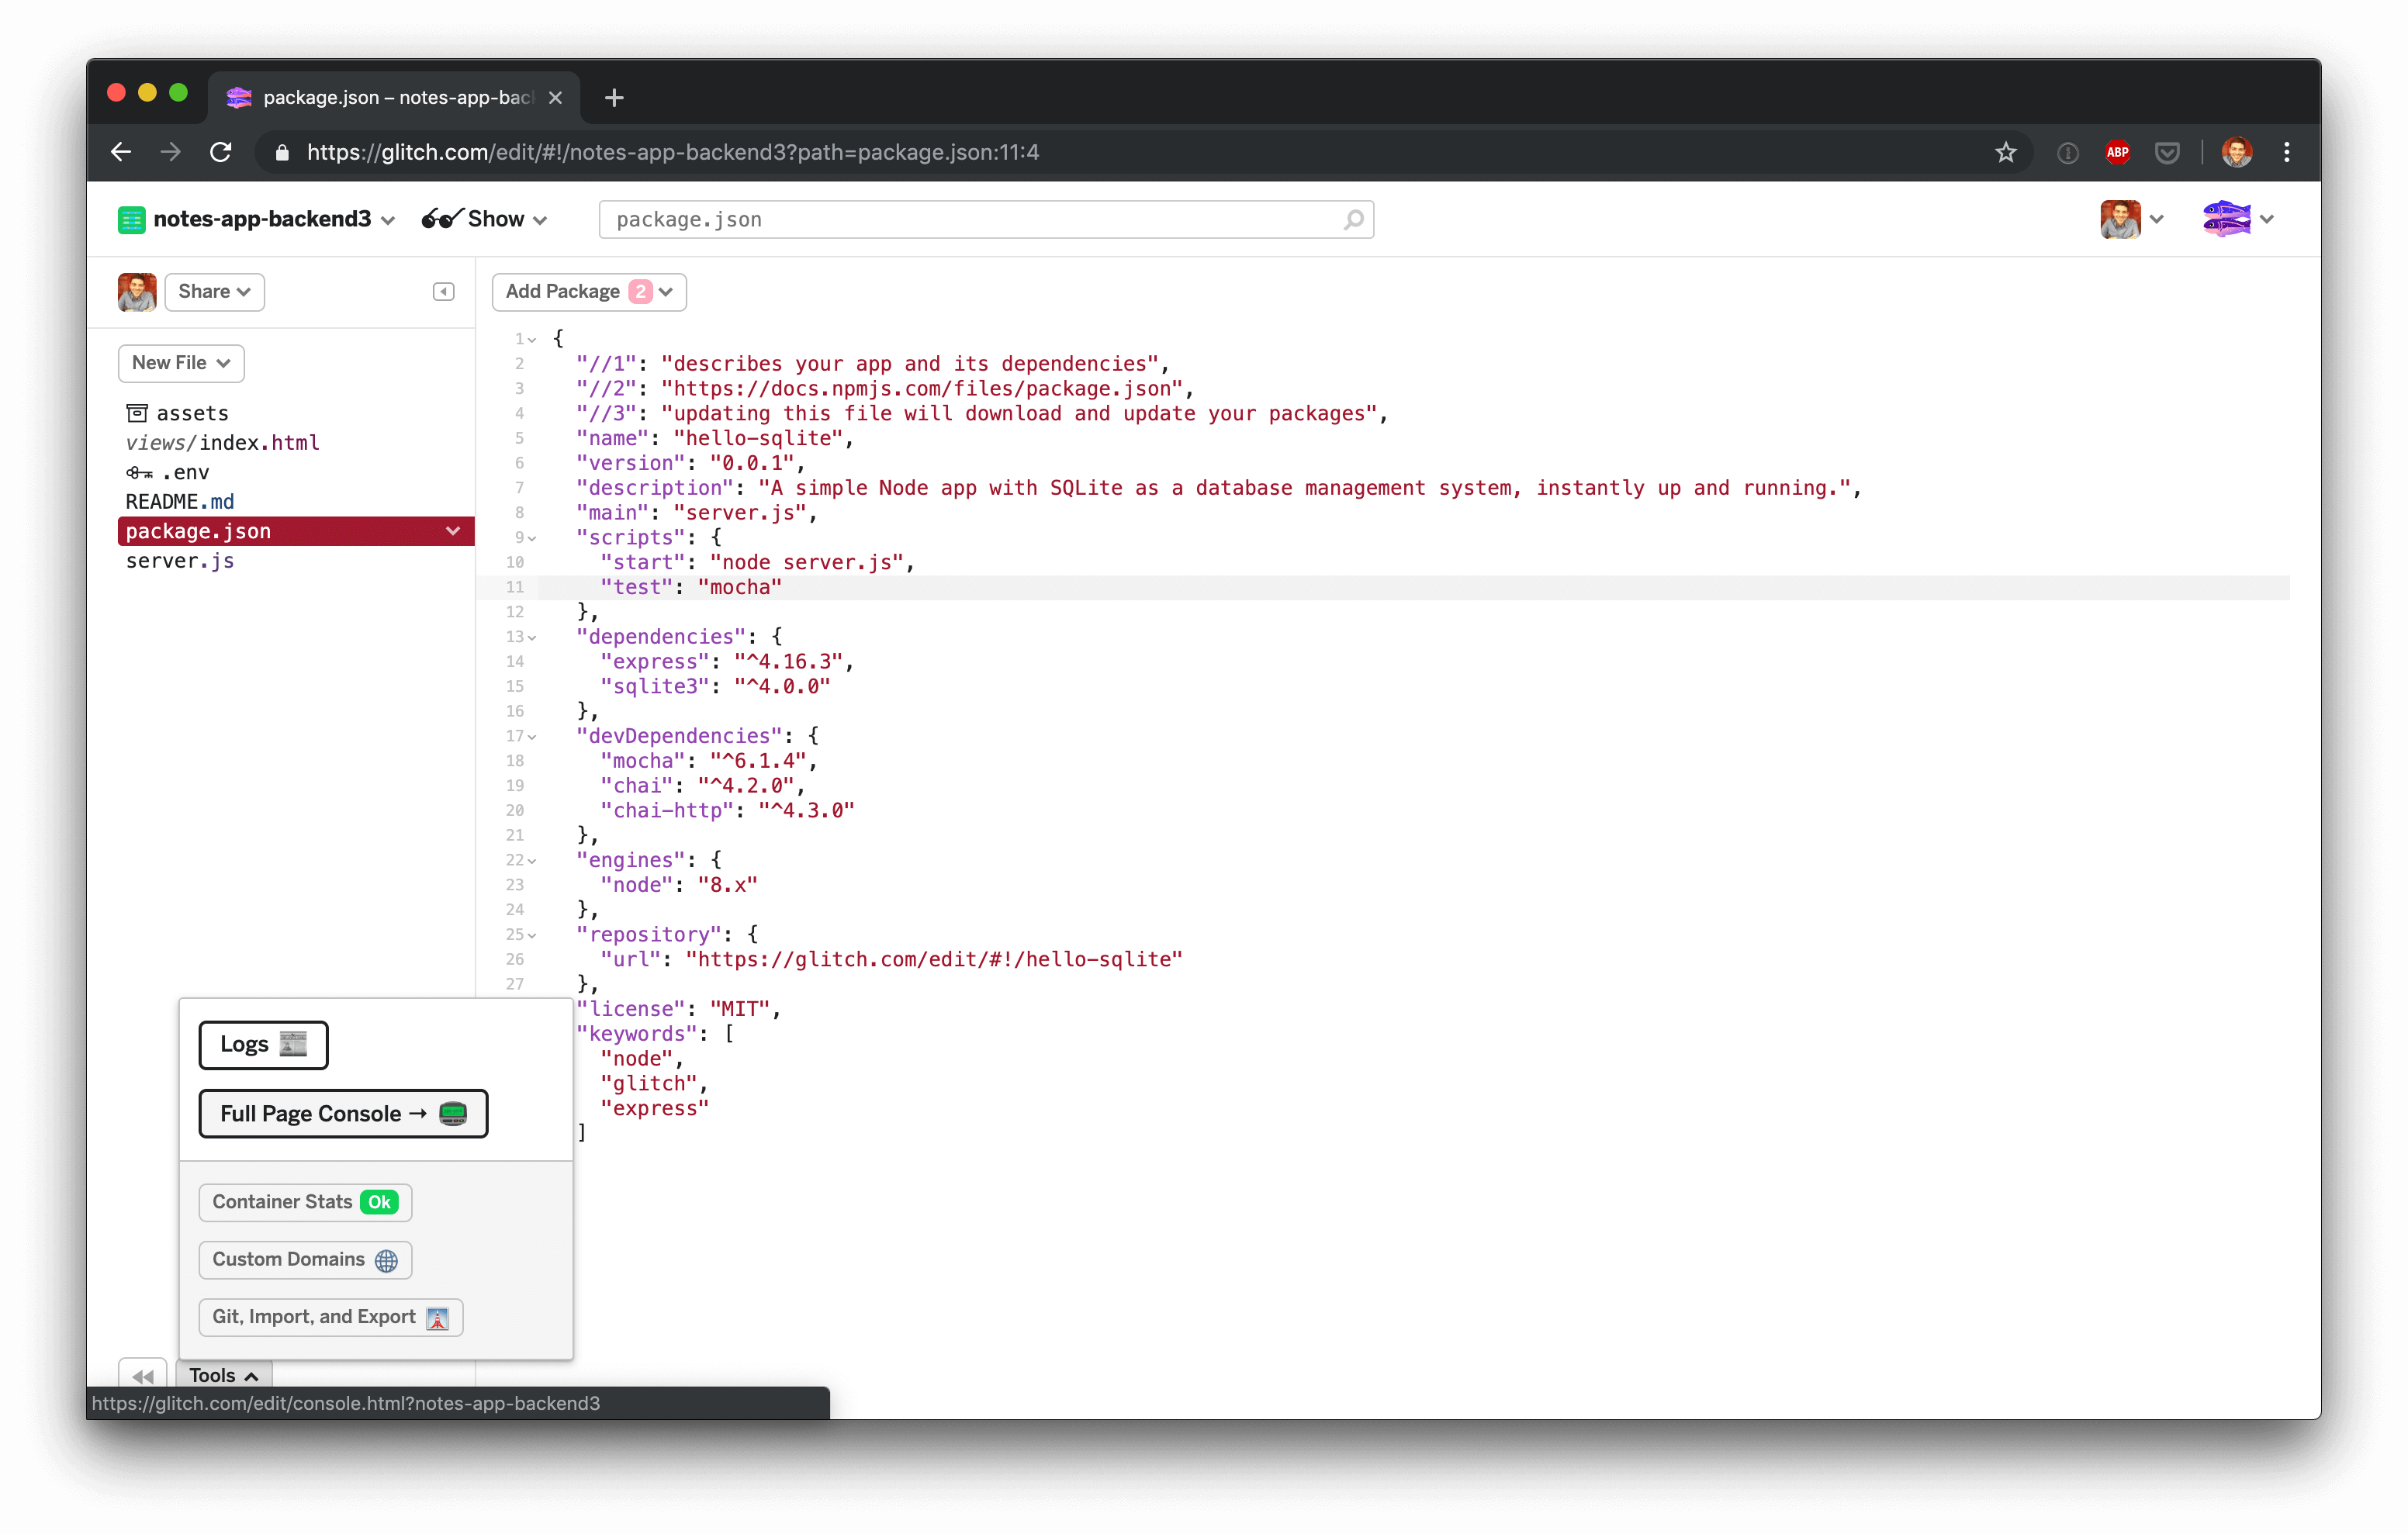
Or you can open it via the logs tab.
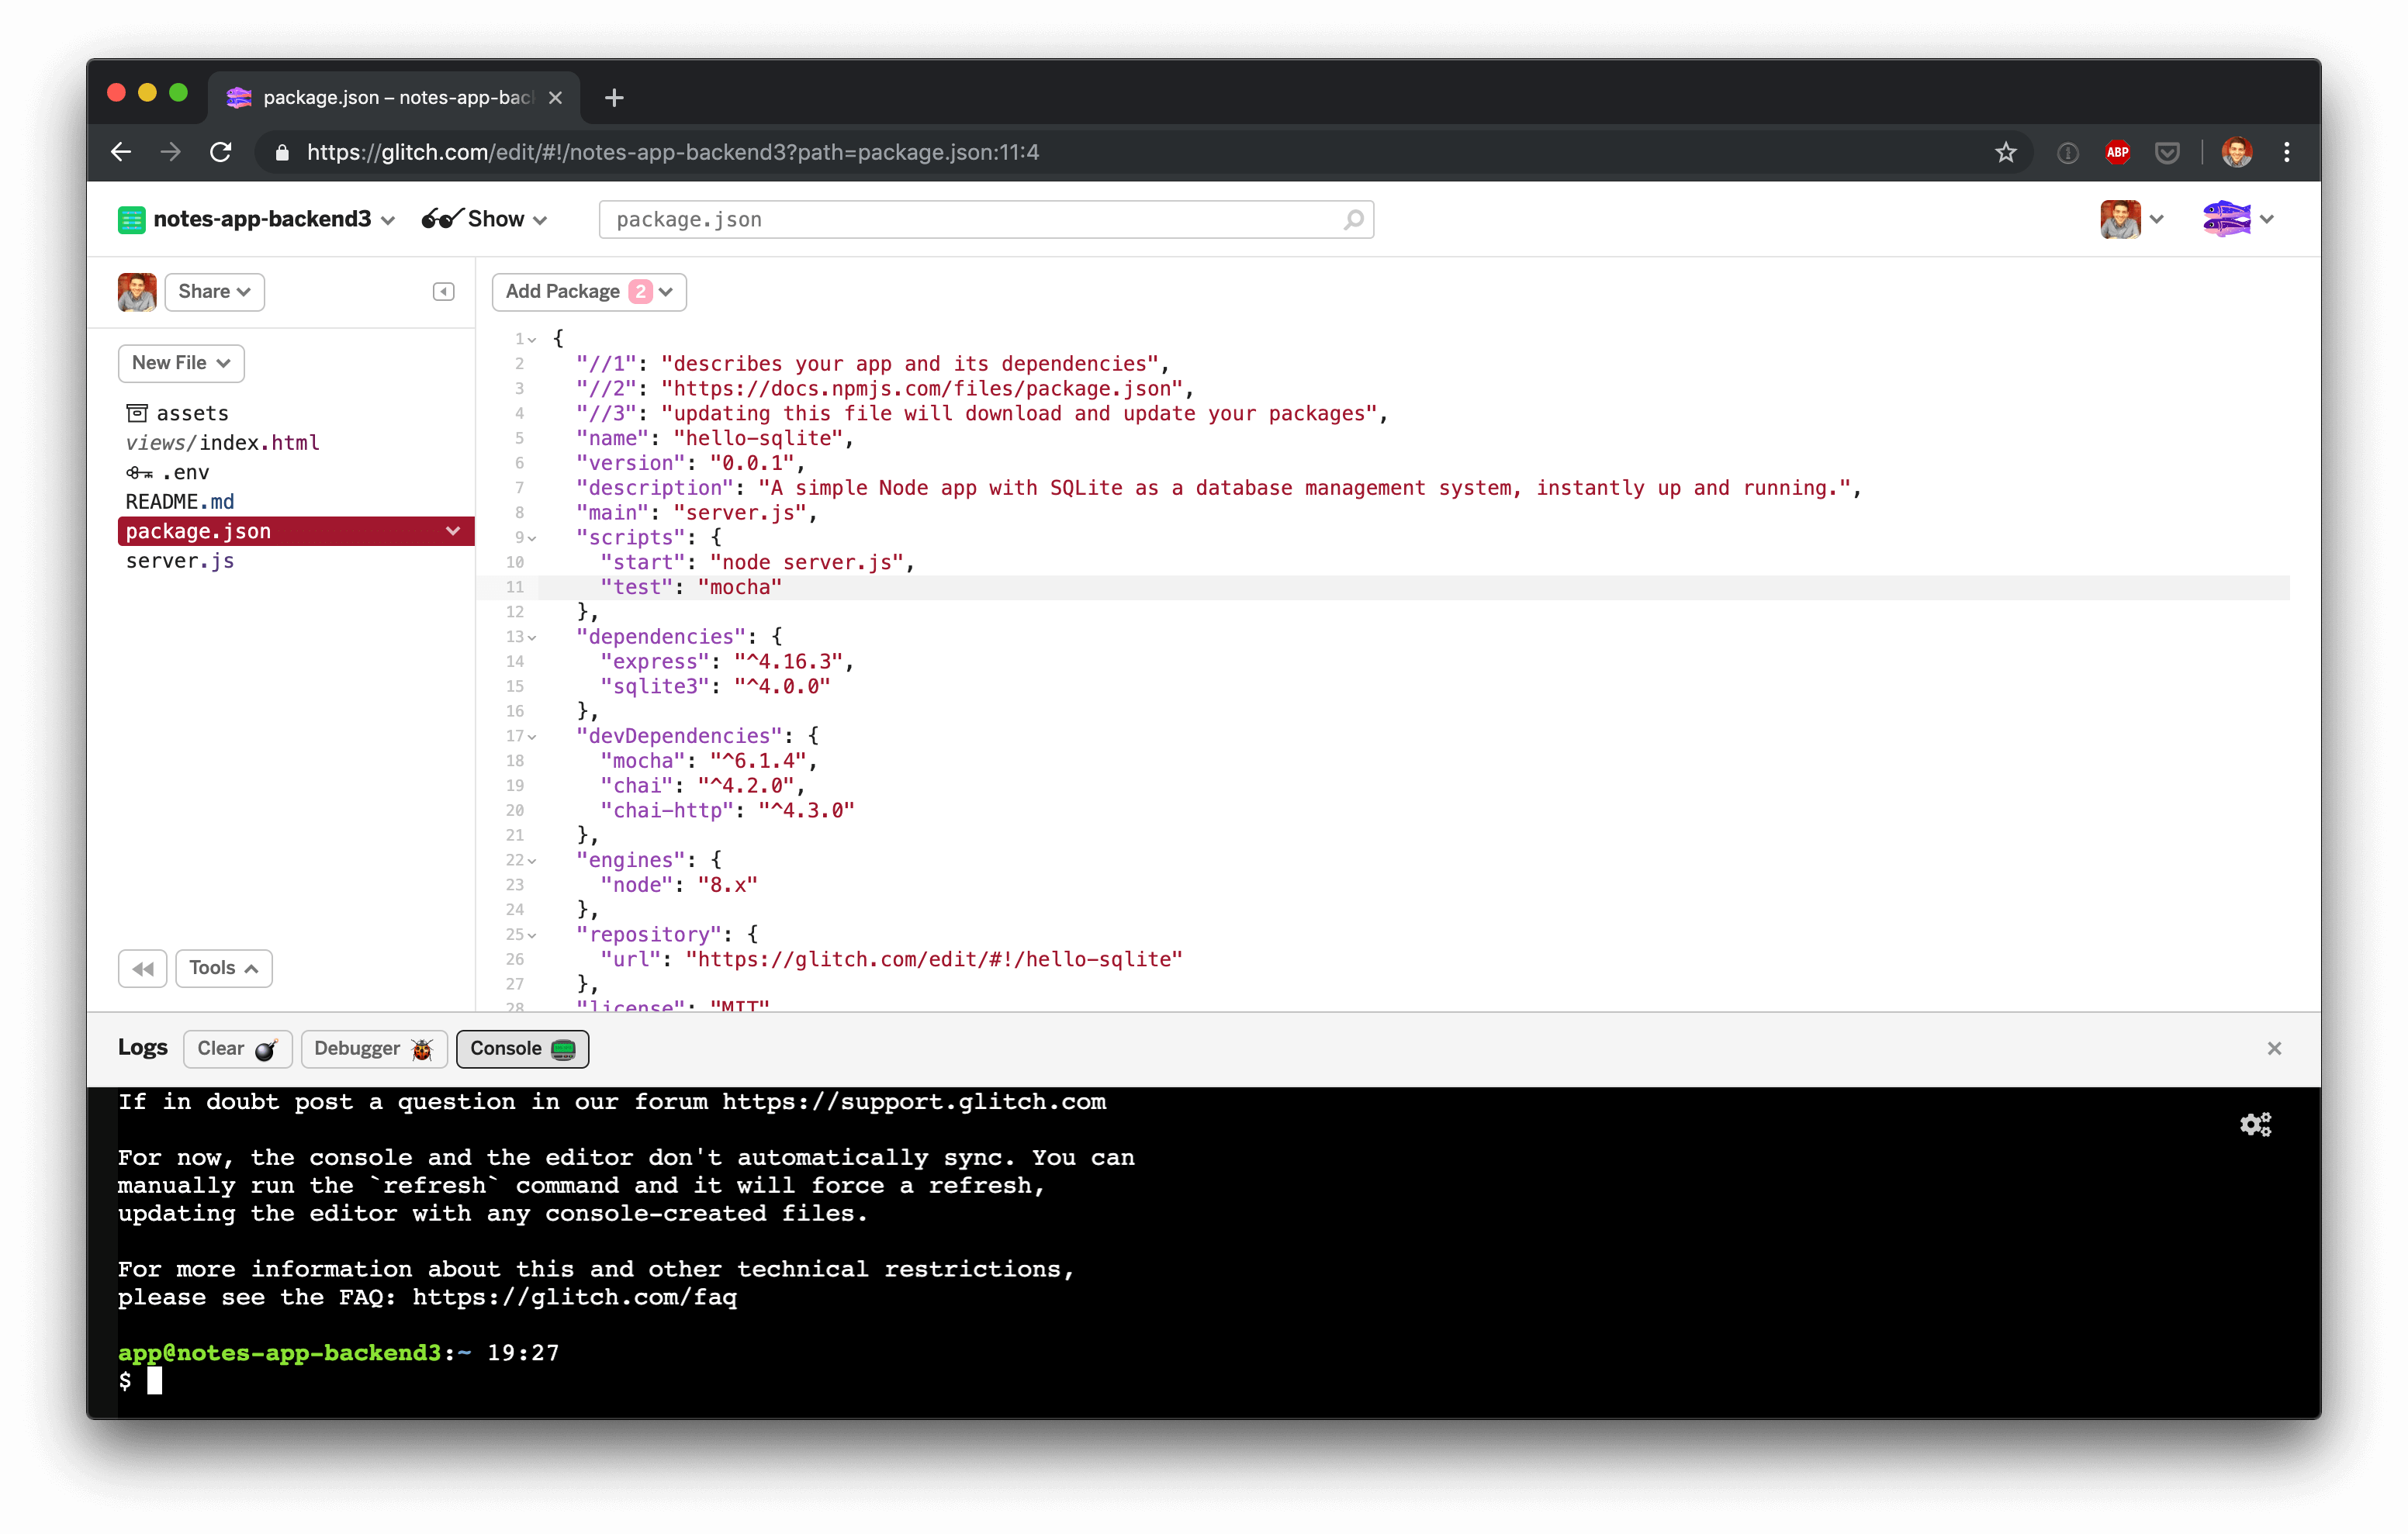
The command to run the tests is:
$ npm test
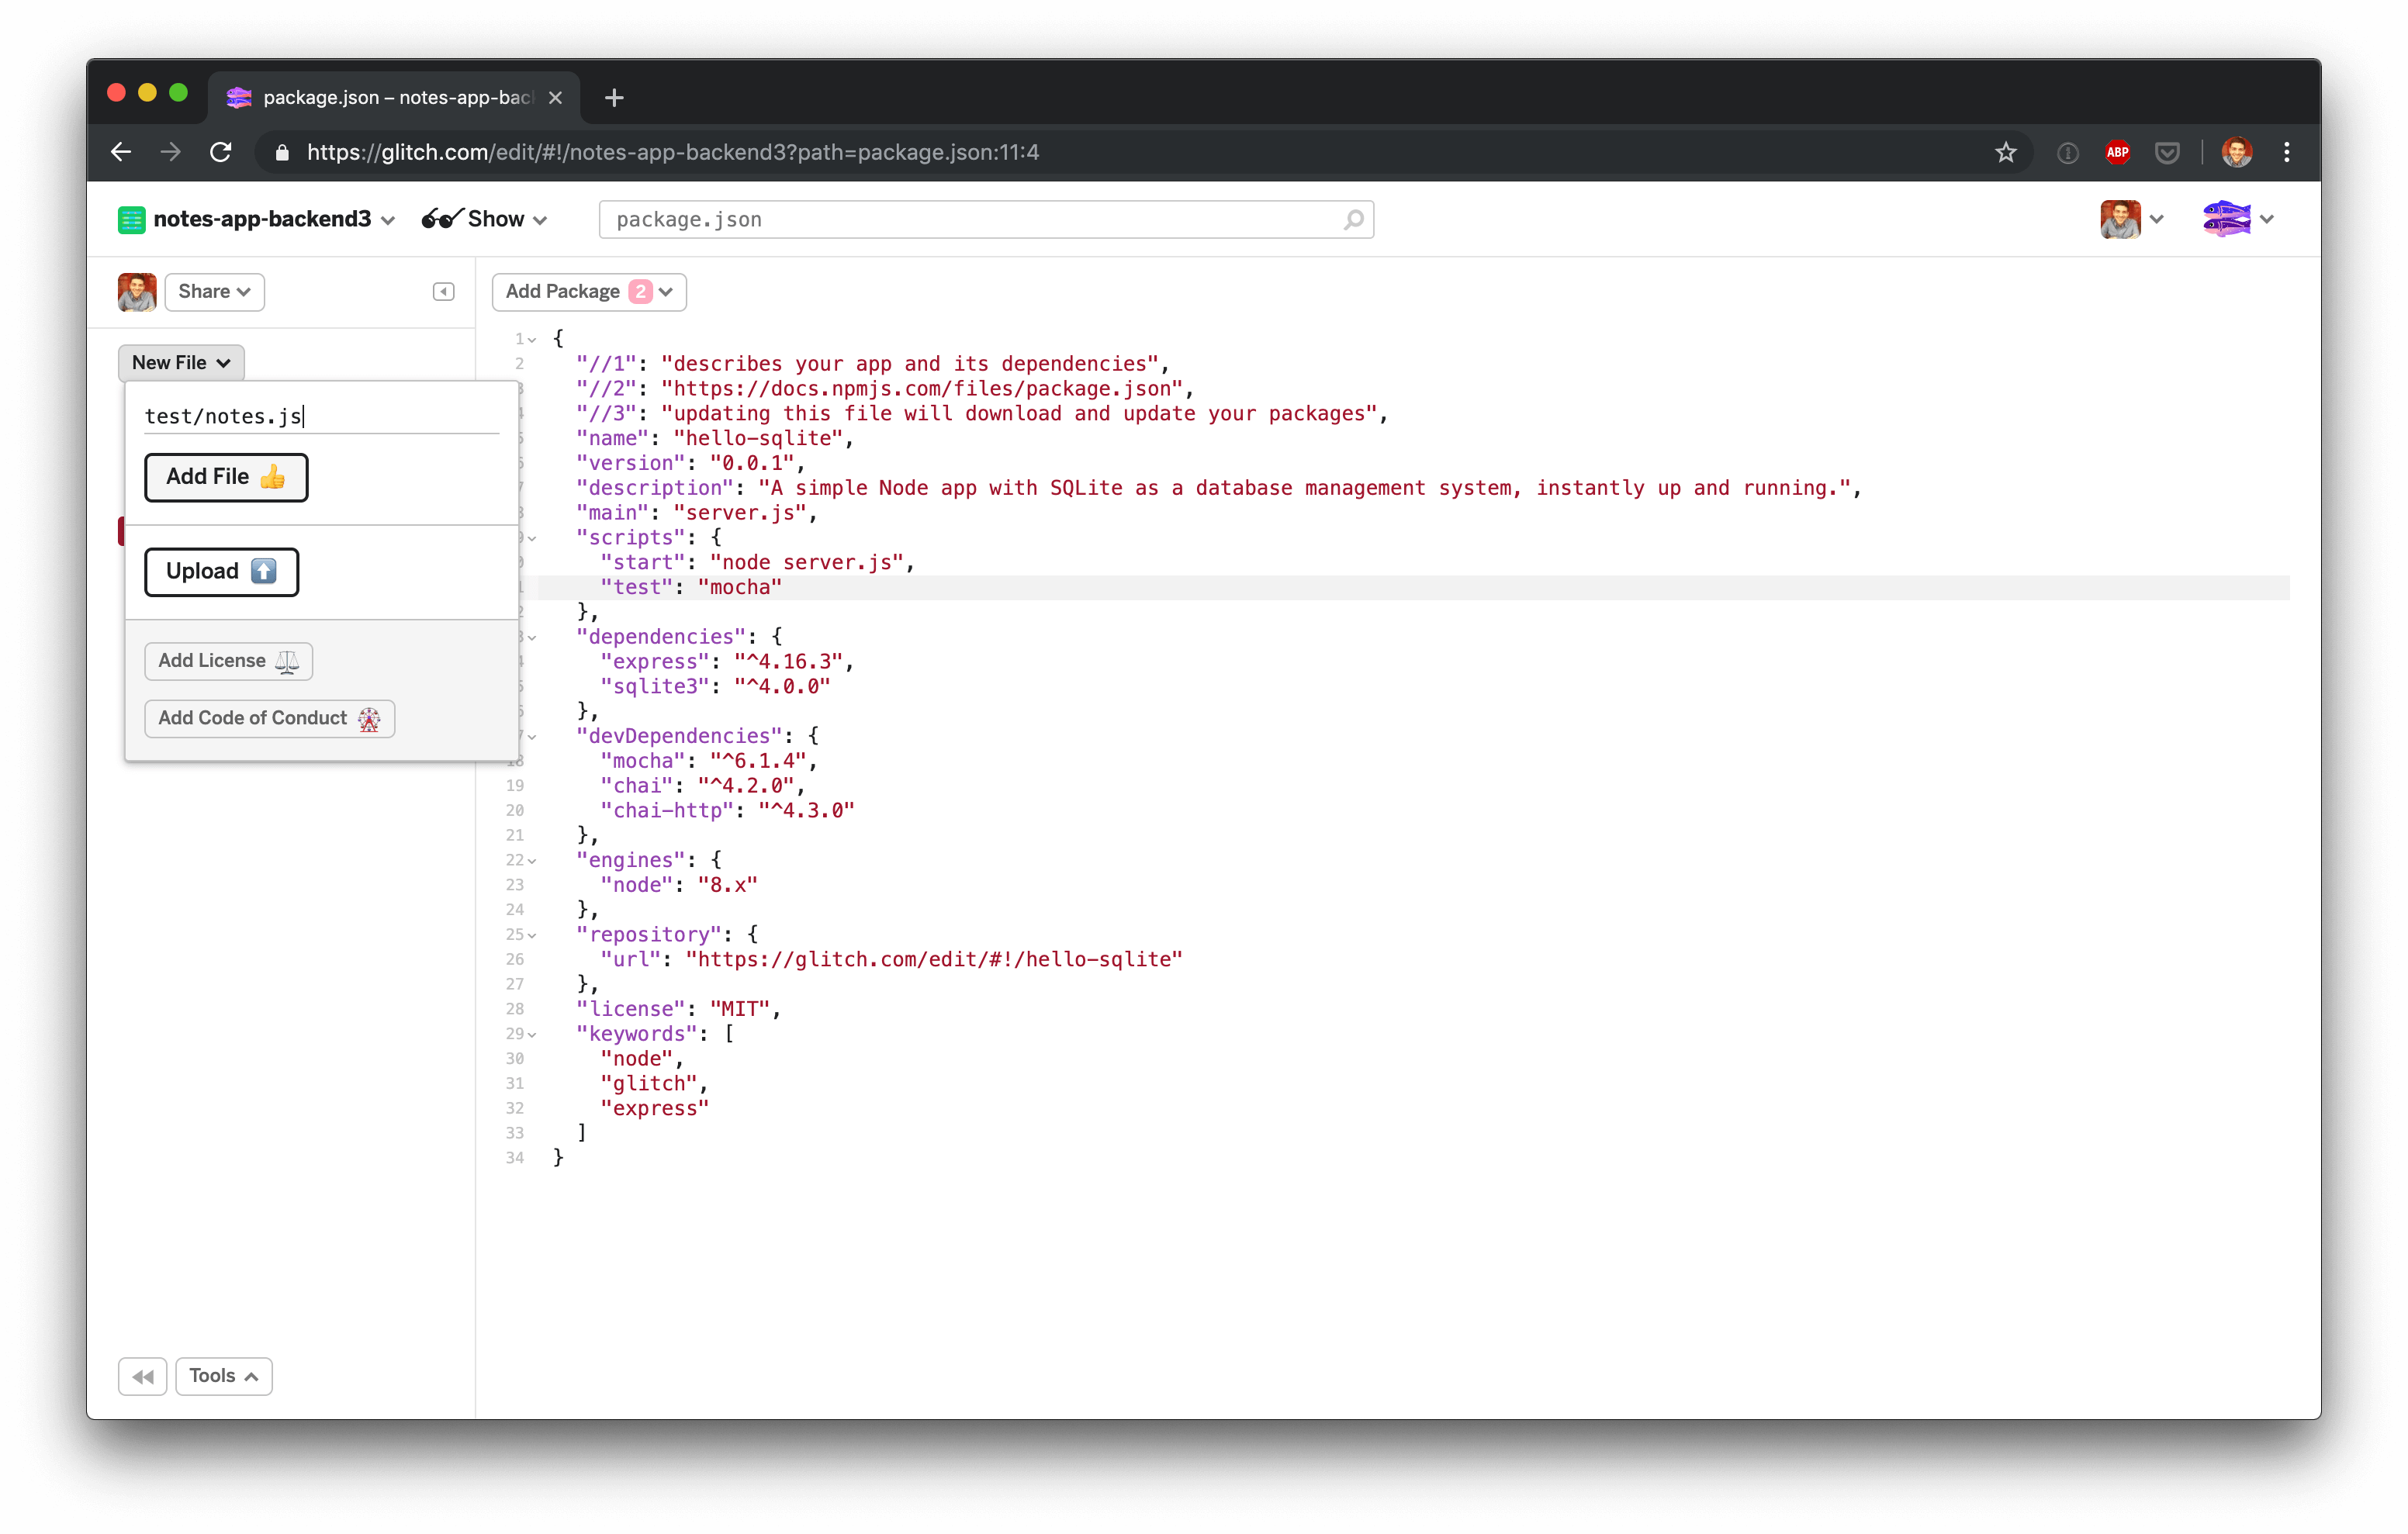
You’ll get an error message because we haven’t written any tests yet. Let’s create a test directory with a file called note.js. Glitch doesn’t allow you to create directories directly, you just create files with file paths. In this case we’ll create a file called test/notes.js:
For the first test we’ll check that the docs page returns a 200 response code. A nice simple test to start with. The code looks like this:
const chai = require('chai');
const chaiHttp = require('chai-http');

describe('notes API', function() {
  describe('GET /', function() {
    it('returns the API docs page', function(done) {
      chai.request(app)
          .get('/')
          .end((err, res) => {
            res.should.have.status(200);
            done();
          });
    });
  });
});
The test will not run at the moment because app is undefined. We need to figure out how to import the node application so that it can be tested. Currently all application logic is inside server.js. Lets create a new file called app.js in the project root directory, which will contain the controller/routing logic. This file can be imported into server.js and test.js. We’ll move all of the application logic into app.js leaving only the server listener in server.js.
app.js should look like this:
// init project
var express = require('express');
var bodyParser = require('body-parser');
var app = express();
app.use(bodyParser.urlencoded({ extended: true }));

// we've started you off with Express,
// but feel free to use whatever libs or frameworks you'd like through `package.json`.

// http://expressjs.com/en/starter/static-files.html
app.use(express.static('public'));

// init sqlite db
var fs = require('fs');
var dbFile = './.data/sqlite.db';
var exists = fs.existsSync(dbFile);
var sqlite3 = require('sqlite3').verbose();
var db = new sqlite3.Database(dbFile);

// if ./.data/sqlite.db does not exist, create it, otherwise print records to console
db.serialize(function(){
  if (!exists) {
    db.run('CREATE TABLE Dreams (dream TEXT)');
    console.log('New table Dreams created!');

    // insert default dreams
    db.serialize(function() {
      db.run('INSERT INTO Dreams (dream) VALUES ("Find and count some sheep"), ("Climb a really tall mountain"), ("Wash the dishes")');
    });
  }
  else {
    console.log('Database "Dreams" ready to go!');
    db.each('SELECT * from Dreams', function(err, row) {
      if ( row ) {
        console.log('record:', row);
      }
    });
  }
});

// http://expressjs.com/en/starter/basic-routing.html
app.get('/', function(request, response) {
  response.sendFile(__dirname + '/views/index.html');
});

// endpoint to get all the dreams in the database
// currently this is the only endpoint, ie. adding dreams won't update the database
// read the sqlite3 module docs and try to add your own! https://www.npmjs.com/package/sqlite3
app.get('/getDreams', function(request, response) {
  db.all('SELECT * from Dreams', function(err, rows) {
    response.send(JSON.stringify(rows));
  });
});
And server.js should look like this:
// server.js
var listener = app.listen(process.env.PORT, function() {
  console.log('Your app is listening on port ' + listener.address().port);
});
Then we need to export app from app.js and import it into server.js.
In app.js:
  });
});

+module.exports = app;
Then in server.js:
+const app = require('./app.js');

const listener = app.listen(process.env.PORT, function() {
  console.log('Your app is listening on port ' + listener.address().port);
});
Now we can import app into test/note.js:
const chai = require('chai');
const chaiHttp = require('chai-http');
+const app = require('./app.js');

describe('notes API', function() {
  describe('GET /', function() {
If we run the test again we’ll get another error because chai.request is not defined. We need to call chai.use(chaiHttp) to enable Chai to use Chai HTTP:
const chai = require('chai');
const app = require('../app.js');
const chaiHttp = require('chai-http');

+chai.use(chaiHttp);

describe('notes API', function() {
  describe('GET /', function() {
We’ll also get a Cannot read property 'have' of undefined error because the response object, res, does not have a should function. We need to call chai.should() which will extend the response object, providing it with a should function:
const chaiHttp = require('chai-http');

chai.use(chaiHttp);
+chai.should();

describe('notes API', function() {
  describe('GET /', function() {
Run the test suite again and it should be passing.
GET /notes
Now that we have a passing test for the index page we can move on to writing a test for the first JSON API endpoint. We’ll create an endpoint to return all the user’s notes. First we’ll add a test to the notes test file:
  });

+  describe('GET /notes', function() {
+    it('returns all notes', function(done) {
+      chai.request(app)
+          .get('/notes')
+          .end((err, res) => {
+            res.should.have.status(200);
+            const responseBody = JSON.parse(res.body)
+            responseBody.length.should.eql(1)
+            responseBody[0].title.should.eql('A test note')
+            responseBody[0].content.should.eql('Content of test note')
+            done();
+          });
+    });
+  });
});
As we did for GET / we’ll assert that the response is a 200 but we also want to test that the API returns notes. We’ll check that the response body contains an array of note objects with the correct title and content.
To get the test passing we’ll add a new route to app.js:
});

+app.get('/notes', function(request, response) {
+  response.setHeader('Content-Type', 'application/json');
+  response.status(200).send(JSON.stringify([{title: 'A test note', content: 'Content of test note'}]));
+});

// endpoint to get all the dreams in the database
The tests should now be green. However, you’ll notice that we’re hardcoding the response body. The next step is to change the implementation to return a note from our application’s database. But, before we do that let’s tidy up app.js because it contains code that we don’t need.
We can remove the /getDreams router, the db.serialize function (because we’ll use an ORM to manage our database), the database imports and the app.use(express.static('public')); line. app.js should look like this:
var express = require('express');
var bodyParser = require('body-parser');
var app = express();

app.get('/', function(request, response) {
  response.sendFile(__dirname + '/views/index.html');
});

app.get('/notes', function(request, response) {
  response.setHeader('Content-Type', 'application/json');
  response.status(200).send(JSON.stringify([{title: 'A test note', content: 'Content of test note'}]));
});

module.exports = app;
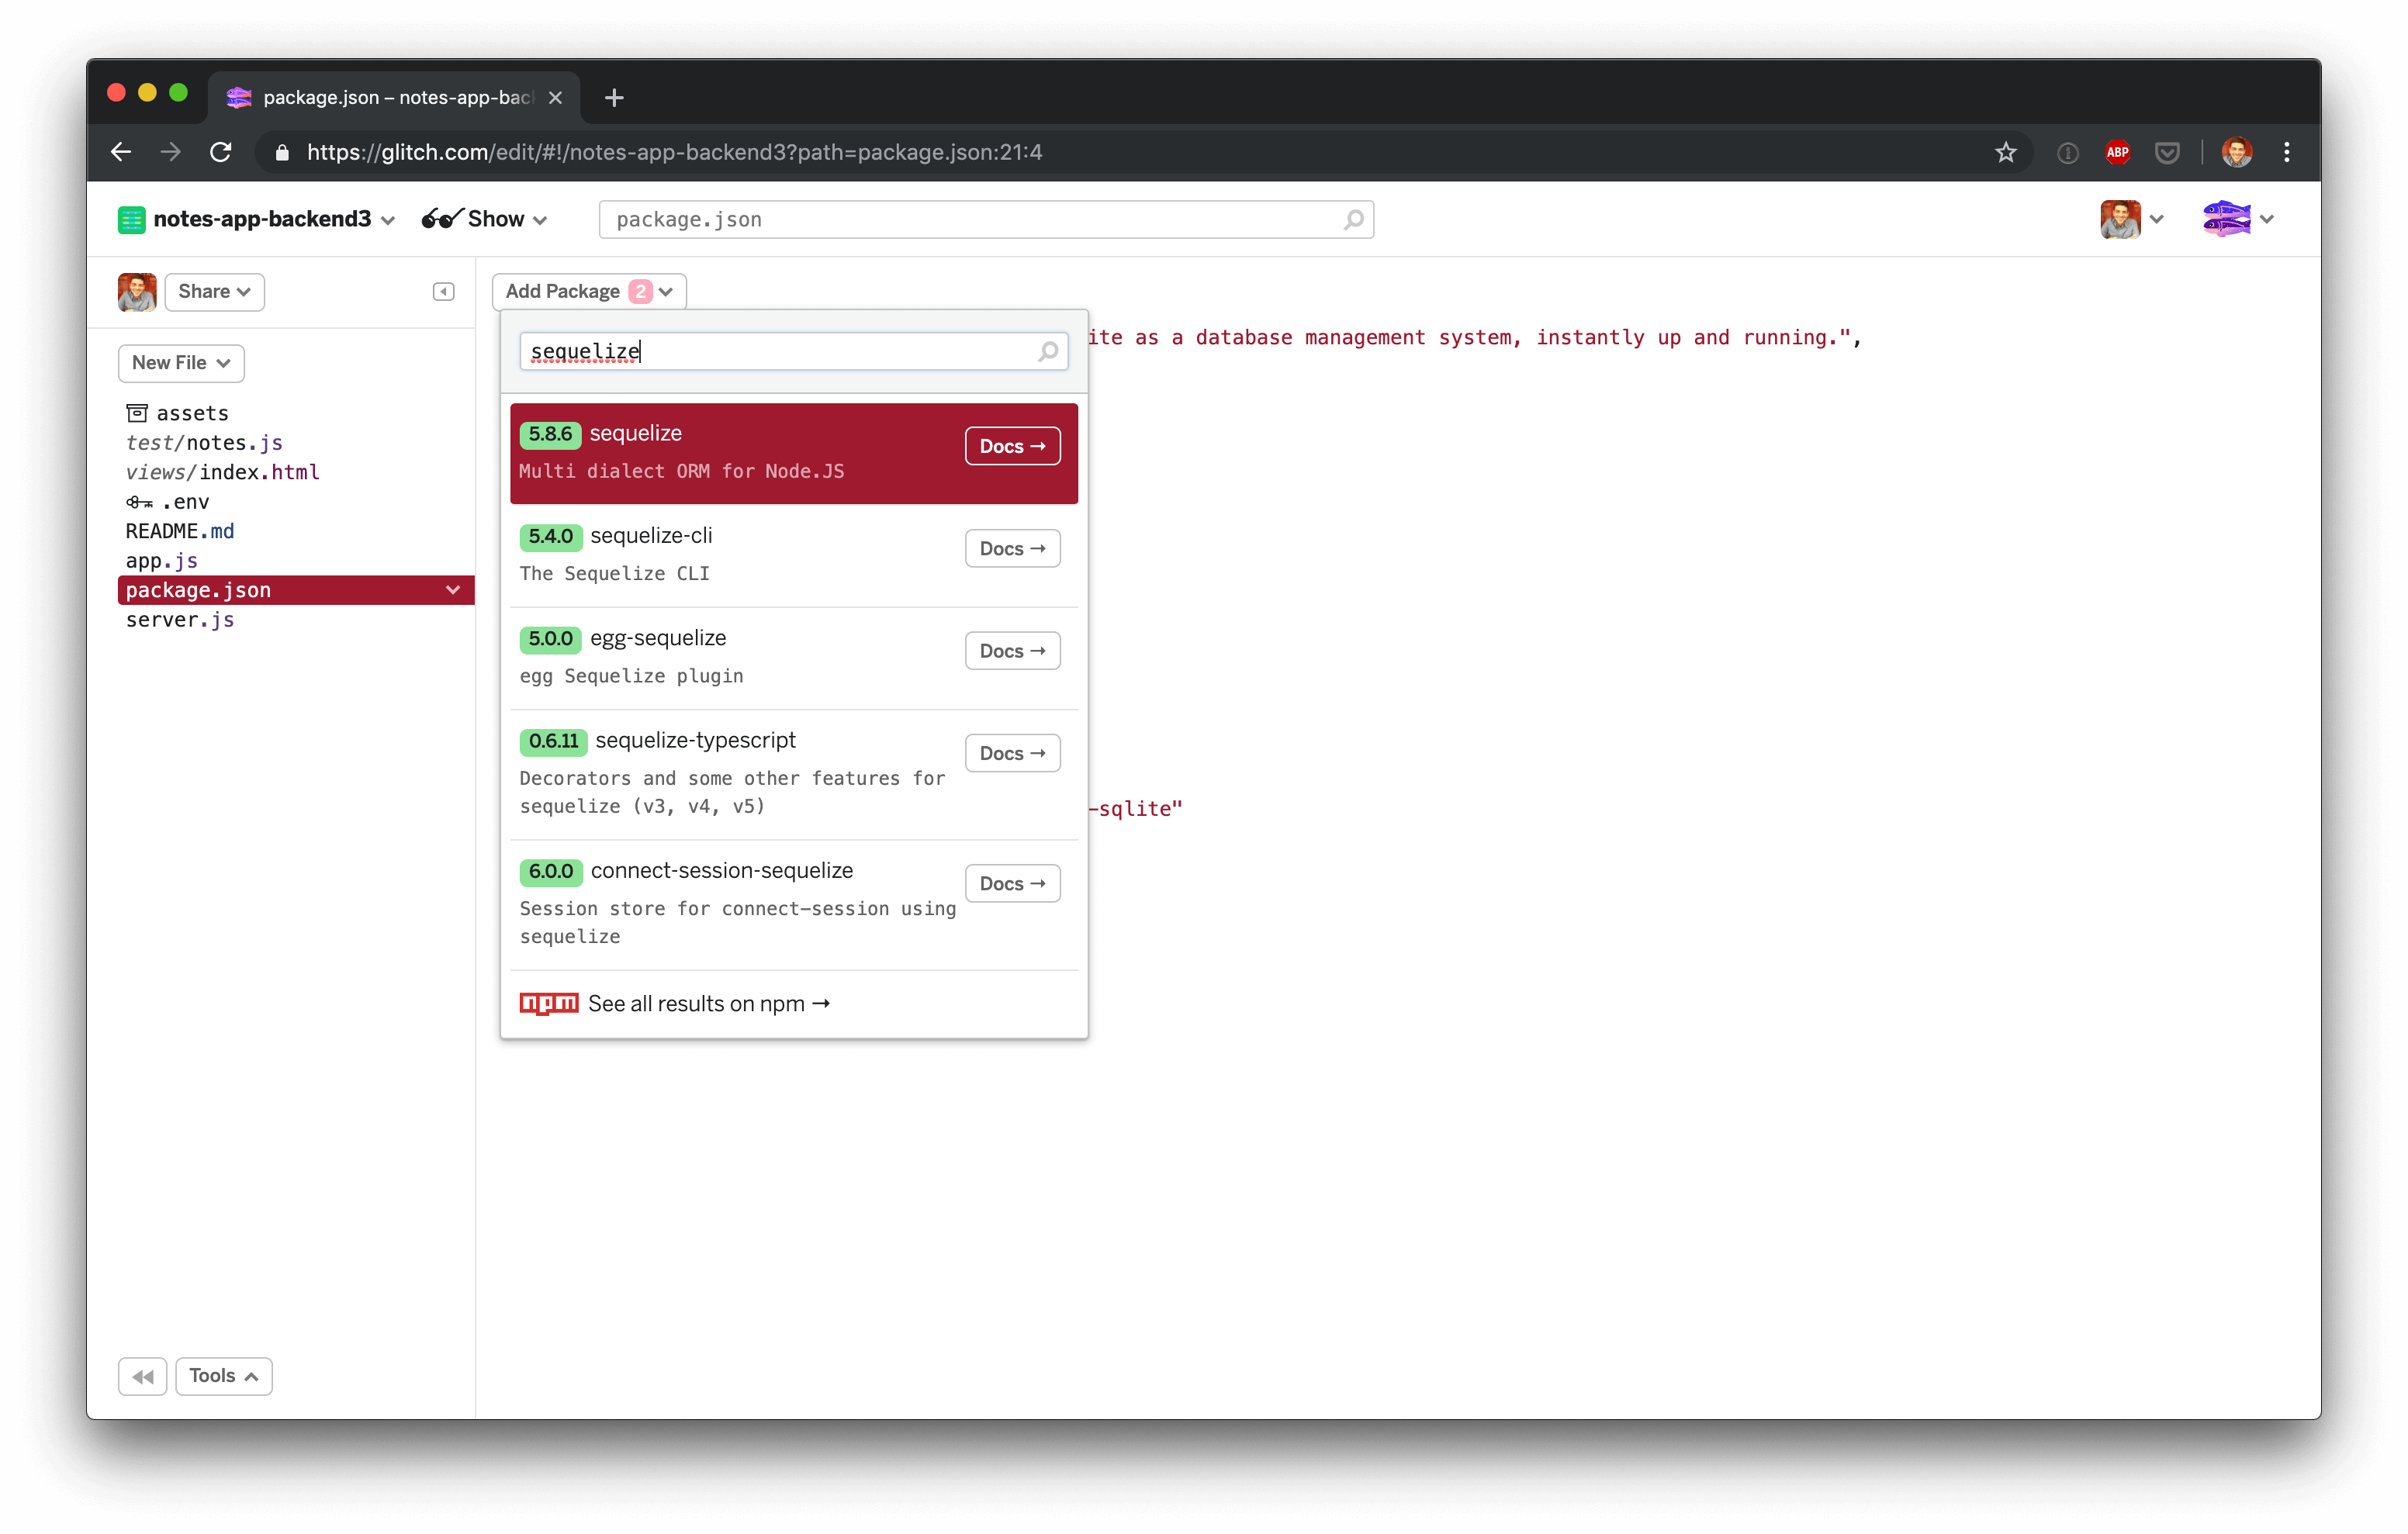
Now we’re in a position to add the database layer. We’re going to use Sequelize, which is a popular Node ORM. First we need to add the latest version of sequelize to package.json. You can use Glitch’s add package feature for this.
Now we have the package we can initialize Sequelize. Open the console and run:
$ npx sequelize-cli init
This will generate a couple of files:
Created "config/config.json"
Successfully created models folder at "/app/models".
Successfully created migrations folder at "/app/migrations".
Successfully created seeders folder at "/app/seeders".
Because Glitch is UI driven you won’t see CLI generated files unless you run refresh in the console.
Next we need to add a migration, which is a way to describe database changes in code. Running a migration performs database changes in a controlled, repeatable way. We want to create a notes table with id, title, content, created at & updated at fields. Sequelize allows you to generate migrations via the CLI:
$ npx sequelize-cli model:generate --name Note --attributes title:string,content:string
Run refresh again to see what was generated.
We can’t run the migrations yet because Sequelize is not configured to use SQLlite. By default, it is configured for mysql2. Fix this by changing config/config.json to:
{
  "development": {
    "dialect": "sqlite",
    "storage": "./.data/development_sqlite.db"
  },
  "test": {
    "dialect": "sqlite",
    "storage": "./.data/test_sqlite.db"
  }
}
SQLite doesn’t require a username or password, we only need to tell Sequelize where the SQLite database file is located. We’ll configure two databases, one for our test environment and one for development.
With that config file in place, we can run migrations via the CLI:
$ npx sequelize-cli db:migrate
This will run migrations on the development environment. We also need to run it on the test environment by specifying the NODE_ENV:
$ NODE_ENV=test npx sequelize-cli db:migrate
With database created and migrations run we can replace the hardcoded notes API with code that will return notes from the database, in app.js:
var app = express();
var db = require('./models/index.js');

app.get('/', function(request, response) {
  response.sendFile(__dirname + '/views/index.html');
});

app.get('/notes', function(request, response) {
  db.Note.findAll().then(notes => {
    response.setHeader('Content-Type', 'application/json');
    response.status(200).send(JSON.stringify(notes));
  });
});
findAll() is a Sequelize query function that will select all rows in a table. Once the query has executed it will call then() which sets the response header type to JSON, the HTTP status to 200 and returns the SQL query results as JSON.
We also need to set NODE_ENV in test/notes.js so that Sequelize uses the right config settings:
+process.env.NODE_ENV = 'test';

const chai = require('chai');
const chaiHttp = require('chai-http');
If we run the tests now we’ll get a failure because there aren’t any notes in the test database. We can fix this by adding a beforeEach function that creates a new note before each test runs. We’ll also clean out the database before each test, otherwise the database will accumulate rows. We’ll destroy everything first, then create a new note. The code looks like this:
chai.should();

describe('API', function() {
+  beforeEach(function(done) {
+    db.Note.destroy({
+      where: {},
+      truncate: true
+    }).then(() => {
+      db.Note.create({ title: "A test note", content: "Content of test note" }).then(note => {
+        done();
+      });
+    });
+  });

  describe('GET /', function() {
Notice that we’re calling done() in the innermost callback function. That is because Sequelize database calls are asynchronous. When testing Asynchronous code you need to call done() to let mocha know that the test has finished running.
Now we’ve fully implemented GET /notes, the tests should be green. You can also test it via curl:
$ curl -i -H "Accept: application/json" "https://<your-app-name>.glitch.me/notes"
However, there won’t be any notes returned because the development database doesn’t have any notes in it. We can fix that by seeding the database
Adding seeds
Sequelize supports seed files. Seeding allows developers to add test data to their applications to help them test the application more easily. Without seeds, manual testing is cumbersome.
With Sequelize we can add seed files to the seeders directory. Using the CLI, Sequelize can generate a notes seed file for us:
$ npx sequelize-cli seed:generate --name example-note
Run refresh to see the new seed file. Replace the code in that file with:
'use strict';

module.exports = {
  up: (queryInterface, Sequelize) => {
    return queryInterface.bulkInsert('Notes', [{
      title: 'Hello world!',
      content: 'This is my first note (seed data)',
      createdAt: new Date(),
      updatedAt: new Date()
    },
    {
      title: 'Second note',
      content: 'This is my second note (seed data)',
      createdAt: new Date(),
      updatedAt: new Date()
    }], {});
  },

  down: (queryInterface, Sequelize) => {
    return queryInterface.bulkDelete('Notes', null, {});
  }
};
The file has an up and down function. up is run when migrating the database and down is used for rolling back. up creates a new note and down deletes all notes to restore the database back to it’s original state. In up we’re creating two notes, This should be enough for us to test the application.
If we try the cURL request again we should get a response back with two notes:
$ curl -i -H "Accept: application/json" "https://<your-app-name>.glitch.me/notes"
GET /note/:id
Now we can move on to building an endpoint that fetches an individual note. First we’ll add a testcase:
    });
  });

+  describe('GET /note/:id', function() {
+    it('returns all notes', function(done) {
+      db.Note.findAll().then(notes => {
+        chai.request(app)
+          .get(`/note/${notes[0].id}`)
+          .end((err, res) => {
+            res.should.have.status(200);
+            res.body.title.should.eql('A test note')
+            res.body.content.should.eql('Content of test note')
+            done();
+          });
+      });
+    });
+  });
});
Then we can add the implementation:
});

+app.get('/note/:id', function(request, response) {
+  db.Note.findByPk(request.params.id).then(note => {
+    response.setHeader('Content-Type', 'application/json');
+    response.status(200).send(JSON.stringify(note));
+  });
+});

module.exports = app;
Because of our earlier work setting up the database and tests, this should work right away. We can also test it via curl:
$ curl -i -H "Accept: application/json" "https://<your-app-name>.glitch.me/note/1"
POST /notes
We now have two endpoints for viewing notes but we also want to allow users to create new notes. We’ll allows clients to create notes via a POST endpoint. Let’s add a test for it:
  });

+  describe('POST /notes', function() {
+    it('creates a note', function(done) {
+      chai.request(app)
+          .post('/notes')
+          .send({
+            title: 'Another test note',
+            content: 'Content of another test note'
+          })
+          .end((err, res) => {
+            res.should.have.status(201);
+            res.body.title.should.eql('Another test note')
+            res.body.content.should.eql('Content of another test note')
+            done();
+          });
+    });
+  });
});
Next we can add the router to app.js:
});

+app.post('/notes', function(request, response) {
+  db.Note.create({ title: request.body.title, content: request.body.content }).then(note => {
+    response.setHeader('Content-Type', 'application/json');
+    response.status(201).send(JSON.stringify(note));
+  });
+});

module.exports = app;
We’d expect the test to be green here but surprisingly it’s failing. The reason is that we need to tell Express to format response bodies as JSON. We do that by adding a line of code to app.js:
var db = require('./models/index.js');

+app.use(bodyParser.json())

// http://expressjs.com/en/starter/basic-routing.html
The tests should now pass.
You can test it with the following cURL command:
$ curl -d '{"title":"this was created via curl!", "content":"This note was created via a CURL request."}' -H "Content-Type: application/json" -X POST https://<your-app-name>.glitch.me/notes
Then use the ID that was returned to check that the note was created:
$ curl -i -H "Accept: application/json" "https://<your-app-name>.glitch.me/note/<id-of-note>"
DELETE /post/:id
Finally, we need an endpoint for deleting a note. Here is what the test looks like:
  });

+    describe('DELETE /note/:id', function() {
+    it('deletes a notes', function(done) {
+      db.Note.findAll().then(notes => {
+        chai.request(app)
+            .delete(`/note/${notes[0].id}`)
+            .end((err, res) => {
+              res.should.have.status(200);
+              db.Note.findAll().then(notes => {
+                notes.should.be.empty
+              });
+              done();
+            });
+      });
+    });
+  });
});
To make this test pass we need to add another router. The router should receive an ID parameter because we only want to allow users to delete one note at a time. We than use Sequelize to remove the note. Once the query has been successfully executed it will respond with a 200:
});

+app.delete('/note/:id', function(request, response) {
+  db.Note.destroy({
+    where: {
+      id: request.params.id
+    }
+  }).then(() => {
+    response.status(200).send();
+  });
+});

module.exports = app;
Again, we can test it via cURL:
$ curl -X "DELETE" https://<your-app-name>.glitch.me/note/<id-of-a-note>
That’s it!
We’ve built the backend for a simple notes app. You can see the completed project on Glitch. I’ll be releasing a follow up tutorial soon with a guide to building the frontend with React. I also plan on posting an in-depth review of Glitch so stay tuned for that.
References:
- docs.npmjs.com/specifying-dependencies-and-devdependencies-in-a-package-json-file
- stackoverflow.com/questions/21396524/what-is-the-difference-between-assert-expect-and-should-in-chai
- blog.logrocket.com/a-quick-and-complete-guide-to-mocha-testing-d0e0ea09f09d
- imaginativethinking.ca/heck-test-async-code-mocha/
- medium.com/@adamzerner/how-bodyparser-works-247897a93b90